
Guide
Windrose Best Ship Gear Guide: Cannons, Hull & Tactics
Sailing a Blackbeard Frigate means nothing if your gear slots are filled with trash. In Windrose, late-game naval combat is decided entirely by the synergy between your Cannons, Hull Modifications, and Naval Tactics. Do not blindly buy the "Tempered" cannons because the damage number looks high; sitting around waiting 6 seconds to trigger a buff in a broadside battle will get you sunk. Instead, you need to rely on the "Perfectly Ordered" reload meta for smaller ships, and transition to "Devastating" debuff stacking for Frigates. More importantly, if you aren't running the "Immortal Keelhold" combo (Epic Keelhold Hull + Tactics III) to make your mid-combat repairs uninterruptible, you are actively griefing your own playthrough.
Windrose Best Ship Cannons: The Two Metas
Every named cannon schematic requires Reputation with the Buccaneers Faction. Do not waste materials testing them all. We have done the math. Your cannon choice depends entirely on how many weapon slots your ship has.
The Single-Slot Meta (For Ketch & Brig): Perfectly Ordered
When you only have one broadside slot, sustained DPS is everything. You must craft the highest poundage Perfectly Ordered cannons your ship supports (e.g., 24-pounders on a Blackbeard Brig).
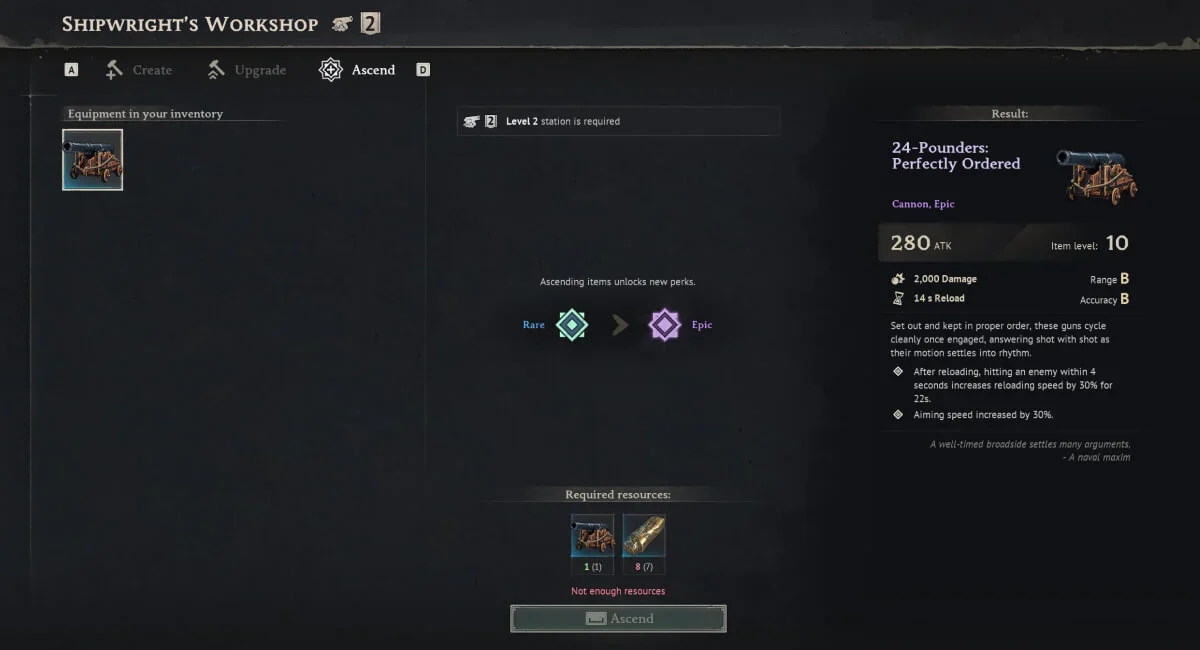
The Synergy: The Rare effect gives you +30% reload speed if you hit an enemy within 4 seconds of your last reload. Once ascended to Epic, you also get +30% aiming speed. If you hold down the fire button and don't miss, then this buff is permanently active, allowing you to drown the enemy in lead.
The Dual-Slot Meta (For Frigates): Devastating Stack
Frigates have two cannon slots. This changes everything. If you own the Blackbeard Frigate, then you must install 36-Pounders: Devastating.
The Synergy: The Devastating trait applies the 'Raked' debuff, increasing all damage taken by the target by 10% (stacking up to 3 times). Because you have two batteries firing constantly, you will instantly push the enemy to +30% vulnerability, turning your 36-pounders into tactical nukes.
| Cannon Type | Rare Effect (Base) | Epic Effect (Ascended) | Verdict |
| Devastating | Applies 'Raked' (Up to +30% Dmg taken). | +15% Reload Speed. | BiS for Dual-Slot Frigates. |
| Perfectly Ordered | +30% Reload Speed on quick follow-up hits. | +30% Aiming Speed. | BiS for Ketch and Brig. |
| Tempered | +40% Dmg if you wait 6s after reloading. | +20% Dmg to Weak Spots. | TRAP. Waiting 6 seconds ruins your DPS. Avoid. |
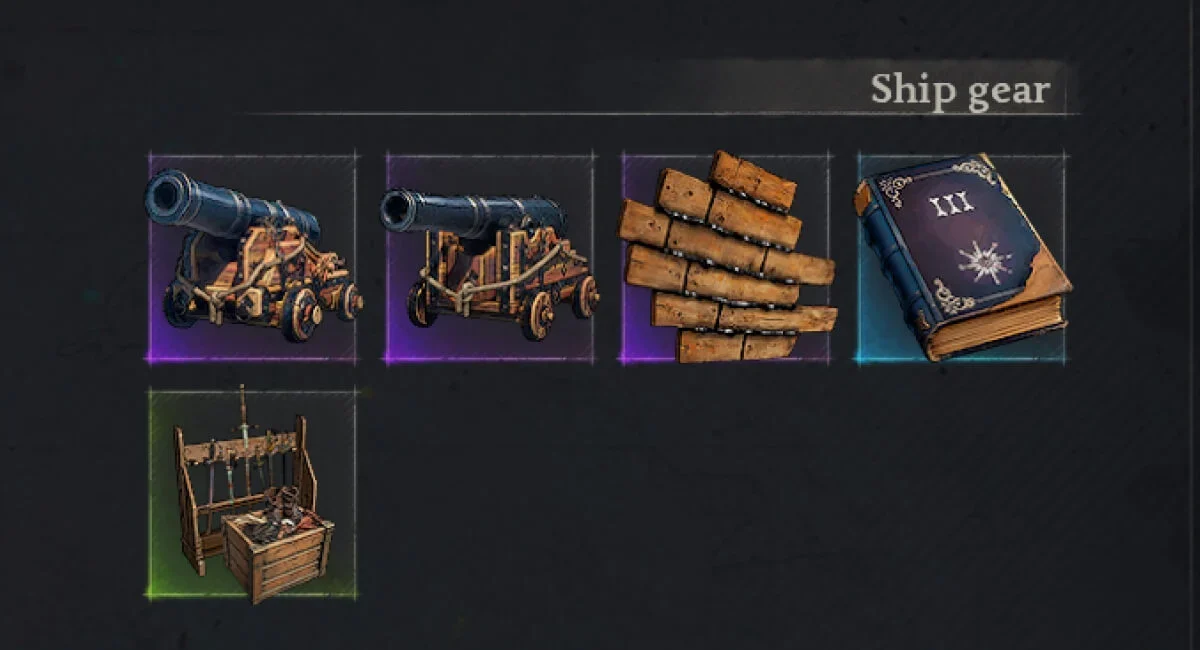
The "Immortal Keelhold" Defense Combo
Hull Modification dictates your DEF stat, but its passive abilities are what keep you alive. You must combine your Hull with the correct Naval Tactic to break the game's repair mechanics.
1. The Hull: Bracing Keelhold (Epic)
Normally, when you use a Repair Kit, taking cannon fire reduces the heal's duration.
If you use an Epic Keelhold, then taking damage no longer affects repair duration, AND the base duration is extended by 30%.
2. The Tactic: Naval Tactics III (Stretch The Supply)
Naval Tactics are passive buffs bought from the Smugglers (Level 3) for 500 Piastre. Tactic III increases the duration of Repair Kits by another 30%, and Grog buffs by a massive 200%.
The Final Result: When combined, your Master Combat Repair Kits last 60% longer and CANNOT be interrupted. You can literally sail straight into a 3-ship pirate blockade, pop a Repair Kit and a Grog (+15% Dmg Res), and out-heal their combined damage.
Warning: Do NOT buy Naval Tactics IV (Shipshape). It heals 3% every 3 seconds only while out of combat. It is completely useless when you actually need it.
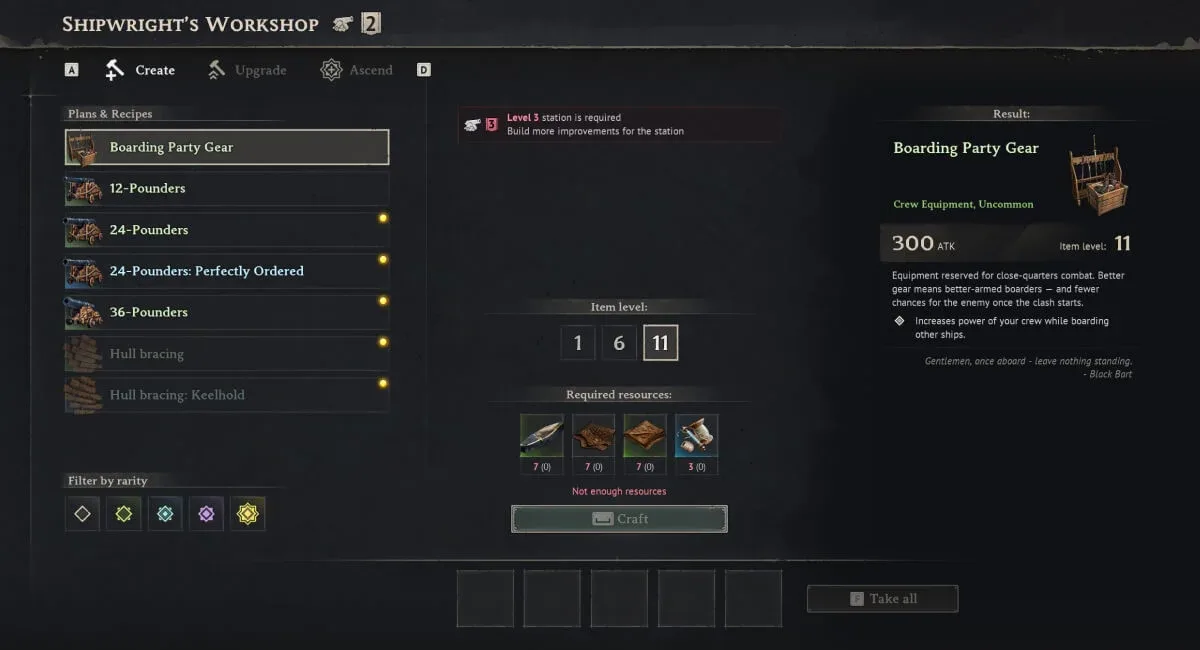
Boarding Party Gear: The Material Sink
Unlike Cannons and Hulls, Boarding Party Gear is weird. There are no variants, and it cannot be ascended past Uncommon rarity.
Its only purpose is to increase your crew's auto-attack damage during the boarding cutscene phase. You upgrade it from Level 1 to 15 using raw materials at the Shipwright. Advice: Level this passively. Do not bankrupt your Iron Ingot supply rushing this to Level 15 while your Cannons are still Level 1.
How to Upgrade & Ascend Gear
A common beginner mistake is trying to upgrade gear while it is attached to the ship.
- Unequip First: Go to the Wharf, select 'Manage Ship', and drag the cannons/hull into your personal backpack.
- The Shipwright's Workshop: Walk over to this base station. Use the Upgrade tab to push the item's raw level (e.g., Level 1 to 10), which increases base ATK/DEF. (Note: Level caps unlock as you defeat 'Local Threat' bosses in new biomes).
- The Ascension Tab: Use this tab to bump the rarity from Rare to Epic, unlocking the second broken passive ability. Hard Requirement: You will need Tumbaga Ingots to ascend any late-game ship gear, so start farming the Cursed Swamps.
FAQ: Ship Gear Optimization
Q: I bought the 36-pounder schematic, but it won't let me equip them on my Stock Frigate. Why?
A: Hull weight limits. Only the Blackbeard variant of the Frigate is structurally designed to carry 36-pounder cannons. If you built the Stock or Brethren Frigate, you are hard-capped at 24-pounders.
Q: Can I stack two different Naval Tactics?
A: No. Your ship only has one dedicated Naval Tactics gear slot. This is why choosing Tactic III (Stretch The Supply) is critical, as its synergy with consumables outweighs the gimmick effects of the others.
Q: Is there any reason to use the 'Standfast' Hull instead of Keelhold?
A: Standfast gives a flat 25% damage reduction for 3 seconds when hit. It's decent for burst mitigation, but in protracted 5-minute naval battles against multiple Frigates, the raw uninterrupted HP regeneration of the Keelhold combo mathematically provides vastly superior effective health.